Good morning fellow crafters! Happy Friday! I hope you have all had a fantastic week and are ready for the weekend! I know I definitely am! The last few weeks have been a busy blur, heck, the last month has just disappeared! Halloween is already next week! There is only 5 weeks until Thanksgiving and 9 weeks until Christmas, CAN YOU BELIEVE IT?!
Last Friday, the kids school had their Fall Carnival and they allowed a few vendors to set up a table to sell their handmade items. The fair only lasted 2 hours but I am glad that I did it, it was a lot of fun! I made a few goodies along with some handmade cards. My mom and my girls helped me out which was great, the turnout was awesome and we sold a lot. I love doing the little craft fairs like this because we end up making more profit that we do if we were to go to a craft fair at the mall or somewhere else bigger. To see photos of the fair and some of the items I made, scroll down to the bottom of the post!
Before I show you pictures of the fair from last week, I wanted to share with you the Christmas Tags I made for this months Blog Hop over for Papertrey Ink. There are already sooo many wonderful tags posted up, I love all the ideas everyone came up with. Tags are such a great project, they are easy to create and add a wonderful touch to gifts and homemade goodies. I made my tags with Kraft cardstock, and embossed the background with the Hero Arts Snowflakes and Edges Cling Stamp. I used Stampin' Up's Real Red and Old Olive Cardstock and Ink, along with Papertrey Ink's 2013 Holiday Tags Stamp Set. I love this stamp set! I made 8 tags, one for each of the images included in the set.
I can't wait to make more tags and possibly cards using this stamp set, especially using different, more non-traditional colors like Dawn McVey did in the release earlier this month!
As promised, here are some photos from the fair. This was our table, and of course my little helpers. They did a great job helping out all the "customers" look at all the goodies and helped pass out candy.
I made Teacher Cards, as well as a few Birthday and Thank You cards. I also had some Halloween, Fall, and Christmas Cards. We made bookmarks and pencil kits as well. You can also see we made some bracelets and earrings.
Here are M&M Candy Sticks made using White Chocolate Candy Corn M&M's. To make the tags, I used PTI Trick or Treat Stamp set and the candy corn image from Tremendous Treats: Halloween stamp set. There is also the Hershey's Nugget Chocolate packs which each hold 4 kinds of Hershey's Nuggets. I find these sell a lot better than the Hershey Nugget Tins. I made the tags for these from the Nuts for You stamp set and the Mr. Bones Stamp set.
Aren't these Hand Sanitizer holders adorable? I followed Just Julie B's tutorial here on how to make these and added a few of my own special touches to these. I can't wait to make these for Christmas as little gifts!
These Pumpkin Poop treats were a huge hit and we sold old fast. I wish I had made more! The Pumpkin from the Polka Dot Parade #8 stamp set was a perfect little addition to this popular poem!
These didn't sell too well, maybe since the kids were already getting free candy everywhere else at the fair, but I did sell a few. I made these using Stampin' Up's Top Note die, along with their Batty for You Stamp set. I used the PTI Trick or Treat Stamp set again for the sentiment.
Thanks for much for stopping by and checking out all of my projects. I hope you all have a fantastic weekend, I am going to go and do some more blog browsing to see some more wonderful tag projects! Have a great day!
I believe in the goodness of others and of life...and in seeking for beauty and truth and fun and extreme bravery and unity. And when I can't find it, I believe in going out and creating it. -Melody Ross
Friday, October 25, 2013
Saturday, October 5, 2013
Make it Monday #134 Card Set #2
Hello fellow crafters, how are you doing today? Were you able to get in some crafting time for World Card Making Day 2013? I finished my cards today a little late, but I still was able to get some "me time" in after running errands with the family. I really wanted to enjoy having the day off today from work but there was so much to do! Unfortunately, I work for the next 11 days straight!
I wanted to try and make another card for this weeks Make it Monday challenge for Papertrey Ink. As most of you already know, Nichole has shown us how to make her "repeat + lift" card, and you can find her video as well as a place for you to link up your project here.
I had not used my Wonderful Words: Joy stamp set yet, and after seeing so many different cards being made with it, I decided it was time to open it up and see what I could do. I was inspired by this card from Jennifer Rzasa as well as this card from Dawn McVey.
I used a Kraft cardstock base along with Stampin' Up Cherry Cobler cardstock. I used Papertrey Ink's Wonderful Words: Joy and Boutique Borders: Birthday stamp sets. I embossed the Cherry Cobler cardstock with clear embossing powder after stamping it with Hero Arts Snowflakes and Edges Cling stamp. I used Cherry Cobler, Primrose Petals, and Early Espresso Inks for my stamp colors. I embossed the Joy die-cut with some Pearlescent Embossing Powder from Inkadinkado to make it pop a little, then put everything together. The inside of each card reads "May all your Holiday wishes come true", a sentiment from the Hero Arts Joy to All stamp set.
I love the look of the Kraft and Cherry Cobler together, I am really pleased with how the cards came out. I hope you all enjoy the rest of your weekend, I am heading off to bed now, good night!
I wanted to try and make another card for this weeks Make it Monday challenge for Papertrey Ink. As most of you already know, Nichole has shown us how to make her "repeat + lift" card, and you can find her video as well as a place for you to link up your project here.
I had not used my Wonderful Words: Joy stamp set yet, and after seeing so many different cards being made with it, I decided it was time to open it up and see what I could do. I was inspired by this card from Jennifer Rzasa as well as this card from Dawn McVey.
I used a Kraft cardstock base along with Stampin' Up Cherry Cobler cardstock. I used Papertrey Ink's Wonderful Words: Joy and Boutique Borders: Birthday stamp sets. I embossed the Cherry Cobler cardstock with clear embossing powder after stamping it with Hero Arts Snowflakes and Edges Cling stamp. I used Cherry Cobler, Primrose Petals, and Early Espresso Inks for my stamp colors. I embossed the Joy die-cut with some Pearlescent Embossing Powder from Inkadinkado to make it pop a little, then put everything together. The inside of each card reads "May all your Holiday wishes come true", a sentiment from the Hero Arts Joy to All stamp set.
I love the look of the Kraft and Cherry Cobler together, I am really pleased with how the cards came out. I hope you all enjoy the rest of your weekend, I am heading off to bed now, good night!
Labels:
Cards,
Challenge,
Christmas,
Holiday,
Papertrey Ink,
Stampin Up
Tuesday, October 1, 2013
Make it Monday #134 Repeat + Lift
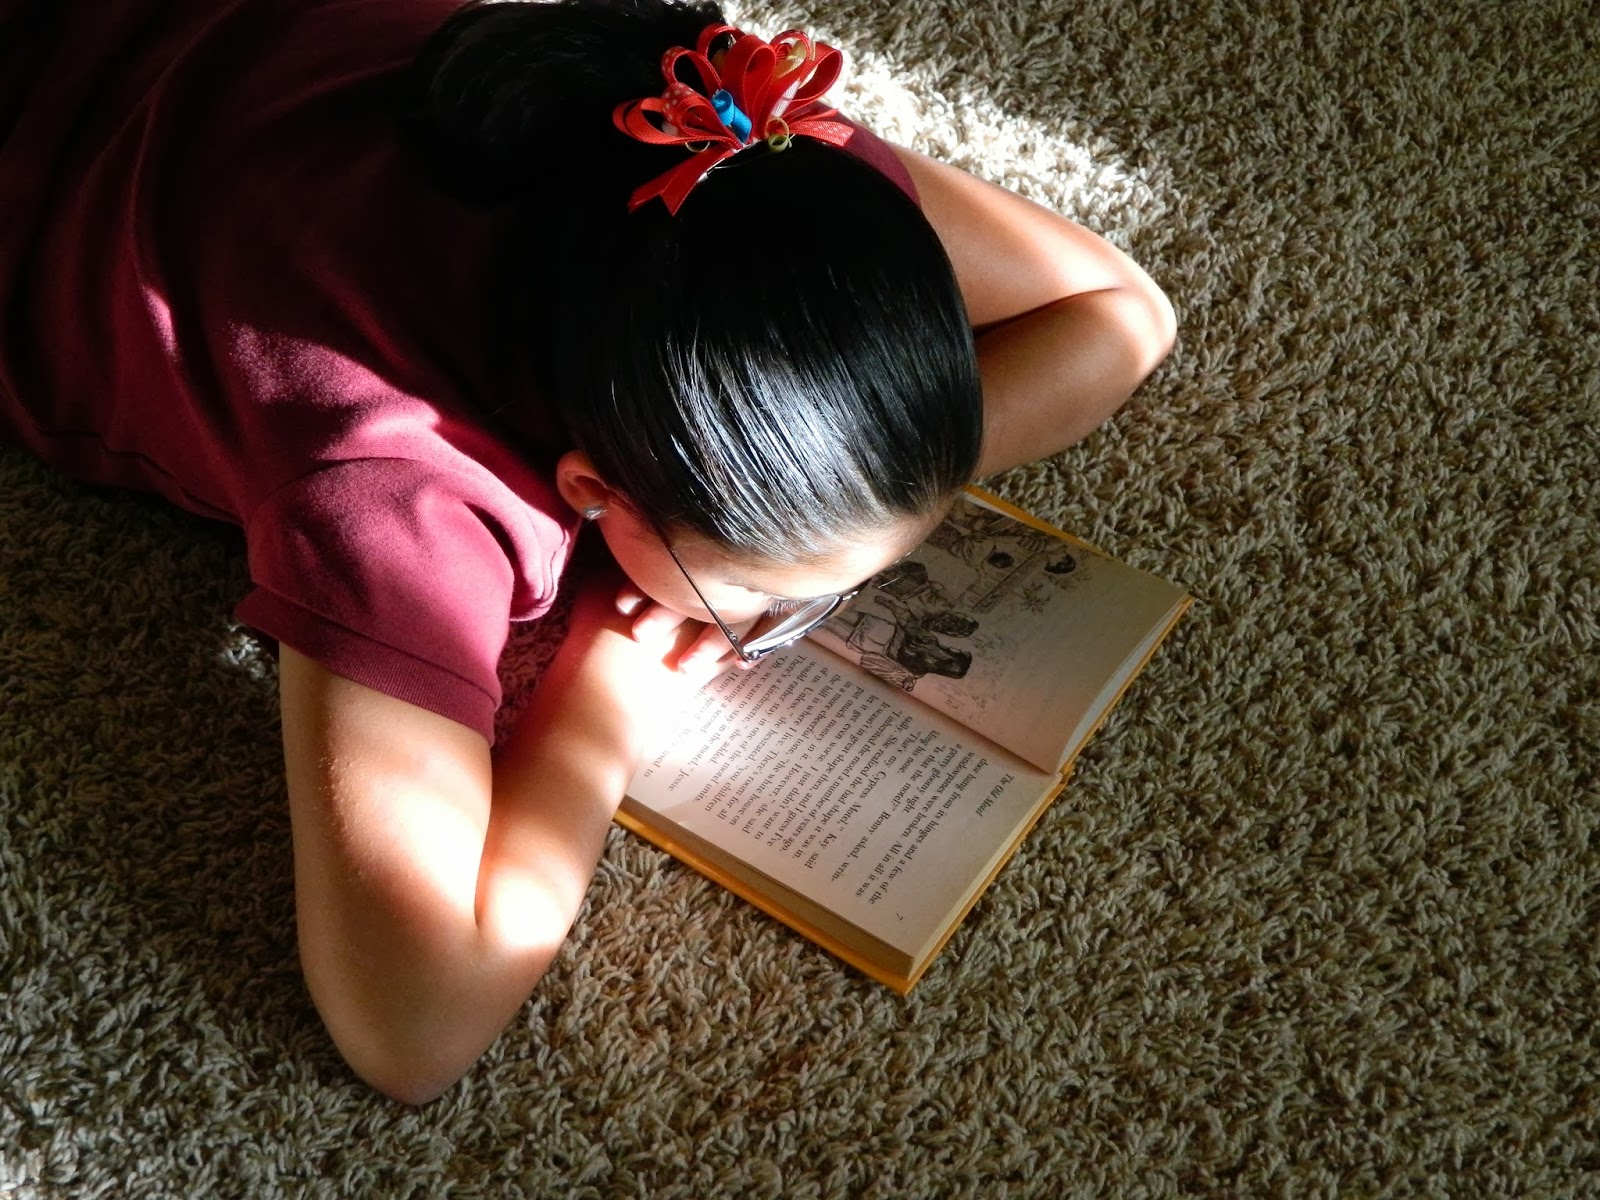
Good evening fellow crafters, or perhaps Good early morning! (It has just turned midnight here!) And it is now OCTOBER! Yet another month come and gone just like that. Absolutely crazy. Spent a few minutes watching my girls reading the other day after they finished their homework. It just breaks my heart to see how fast they are growing up. They know so much about who they are now, what they want, what they don't want...Just have to remember to cherish each and every moment of every single day that passes...
Moving on, I wanted to share with you the card set I made for this week's Make it Monday Challenge over at Papertrey Ink. I think this is the first time I have ever been able to actually make a project the same day the challenge came out. This week, Nichole shows us how she created her "Repeat + Lift" cards. It is a really fun technique, and there are so many ways we can put this to use! I saw the video real quick this morning before heading out to work and have been thinking of ideas all day about what I wanted to do for my cards. The kids' school has a Fall Carnival every year, and they allow Craft vendors to sell their items there. I am going to have a table, and I need some Teacher gifts, including some cards. So this is my first Teacher Thank you Card set.
I used Neenah White Cardstock for my card bases, and some patterned paper from Recollections Back to School paper pack. I used Papertrey Ink's Wonderful Words: Thank You Stamp Set and matching die, along with the Banner die. I stamped my "Thank You" in Stampin' Up Real Red and Basic Black, and popped up the "Thank You" die-cuts using foam dimensionals because I didn't have any foam tape. This was a challenge because I had to make sure the dimensionals were cut really thin. You can seem them a tiny bit up close, but it doesn't look bad at all. I like the way the set came out and I can't way to try a few more sets like this to include in the Craft Fair.
I have to work early in the morning, only going to get a few hours of sleep now, so I guess I should probably head off to bed! Should be resting anyway, I feel a cold coming on, my throat is killing me and I am already losing my voice! Thanks for stopping by, have a fabulous day!
Moving on, I wanted to share with you the card set I made for this week's Make it Monday Challenge over at Papertrey Ink. I think this is the first time I have ever been able to actually make a project the same day the challenge came out. This week, Nichole shows us how she created her "Repeat + Lift" cards. It is a really fun technique, and there are so many ways we can put this to use! I saw the video real quick this morning before heading out to work and have been thinking of ideas all day about what I wanted to do for my cards. The kids' school has a Fall Carnival every year, and they allow Craft vendors to sell their items there. I am going to have a table, and I need some Teacher gifts, including some cards. So this is my first Teacher Thank you Card set.
I used Neenah White Cardstock for my card bases, and some patterned paper from Recollections Back to School paper pack. I used Papertrey Ink's Wonderful Words: Thank You Stamp Set and matching die, along with the Banner die. I stamped my "Thank You" in Stampin' Up Real Red and Basic Black, and popped up the "Thank You" die-cuts using foam dimensionals because I didn't have any foam tape. This was a challenge because I had to make sure the dimensionals were cut really thin. You can seem them a tiny bit up close, but it doesn't look bad at all. I like the way the set came out and I can't way to try a few more sets like this to include in the Craft Fair.
I have to work early in the morning, only going to get a few hours of sleep now, so I guess I should probably head off to bed! Should be resting anyway, I feel a cold coming on, my throat is killing me and I am already losing my voice! Thanks for stopping by, have a fabulous day!
Friday, September 27, 2013
Make it Monday #133 Creating a Flocked Look with Dimensional Paste
Good afternoon fellow crafters, HAPPY FRIDAY! I am so happy it is Friday, I am beyond ready for the weekend! It has been a crazy, stressful week. I am ready for a quiet, peaceful, hopefully relaxing Saturday tomorrow! I do have to work today, but I wanted to share with you my cards for Papertrey Ink's Make it Monday Challenge #133.
Danielle Flanders is showing us how to use dimensional paste to create a flocked look. When I first saw the challenge, I for sure thought I wasn't going to be able to participate because I do not have any kind of "dimensional paste" whatsoever. I did browse the craft section at Wal-mart earlier this week during a grocery trip, but was unable to find anything that I might be able to use. While I was browsing other crafters projects, I saw that Cornelia actually MADE her own dimensional paste! BRILLIANT! I was so happy she shared this because I wanted to participate in the challenge!
I made my "paste" with flour also, but I didn't use any measurements, I just eyeballed everything. I used about 2 tablespoons or so of flour, then I mixed in some Mod Podge. It wasn't really mixing too well so I added some warm water until it started to form a paste. Last, I added some GLITTER! I used Inkadinkado's Turquoise Glitter powder and mixed it all together. I only have 2 Papertrey Ink Cover plates: The Hexagon Die and the Harlequin Die cover plates. I started off with the Harlequin cover plate, and was so happy with the results, that I decided to repeat the process with the Hexagon die as well.
Everything looked great once I removed the cover plate "stencil", the paste was nice and thick and had a great dimension to it. Once it dried however, the dimension went down a little :( I was really looking forward to the design of the cover plates popping on the cards, but nonetheless, I am extremely happy with the way these 2 cards came out. I love them both! I used the Papertrey Ink Santa Stationary Stamp Set for my Santa, as well as Hero Arts Joy to All Stamp set for the Sentiment. The glitter paper is also from Stampin' Up. The inside of the cards read "May all your Holiday Wishes Come True".
Even if I don't use this technique in the future, it was really fun to try. I can say that I will probably make some more cards with this design using the coordinating Hexagon and Harlequin stamp sets. Thank you for stopping by, I hope you all have a great weekend!
Danielle Flanders is showing us how to use dimensional paste to create a flocked look. When I first saw the challenge, I for sure thought I wasn't going to be able to participate because I do not have any kind of "dimensional paste" whatsoever. I did browse the craft section at Wal-mart earlier this week during a grocery trip, but was unable to find anything that I might be able to use. While I was browsing other crafters projects, I saw that Cornelia actually MADE her own dimensional paste! BRILLIANT! I was so happy she shared this because I wanted to participate in the challenge!
I made my "paste" with flour also, but I didn't use any measurements, I just eyeballed everything. I used about 2 tablespoons or so of flour, then I mixed in some Mod Podge. It wasn't really mixing too well so I added some warm water until it started to form a paste. Last, I added some GLITTER! I used Inkadinkado's Turquoise Glitter powder and mixed it all together. I only have 2 Papertrey Ink Cover plates: The Hexagon Die and the Harlequin Die cover plates. I started off with the Harlequin cover plate, and was so happy with the results, that I decided to repeat the process with the Hexagon die as well.
Everything looked great once I removed the cover plate "stencil", the paste was nice and thick and had a great dimension to it. Once it dried however, the dimension went down a little :( I was really looking forward to the design of the cover plates popping on the cards, but nonetheless, I am extremely happy with the way these 2 cards came out. I love them both! I used the Papertrey Ink Santa Stationary Stamp Set for my Santa, as well as Hero Arts Joy to All Stamp set for the Sentiment. The glitter paper is also from Stampin' Up. The inside of the cards read "May all your Holiday Wishes Come True".
Even if I don't use this technique in the future, it was really fun to try. I can say that I will probably make some more cards with this design using the coordinating Hexagon and Harlequin stamp sets. Thank you for stopping by, I hope you all have a great weekend!
Labels:
Cards,
Challenge,
Christmas,
Holiday,
Papertrey Ink,
Stampin Up
Wednesday, September 25, 2013
Fall Thanksgiving Card
Good evening fellow crafters! Man, oh man, I just spent the last hour working furiously trying to finish this card to add to Papertrey Ink's September Blog hop and I just missed it! The collection for links to be added just barely closed. There were so many wonderful and creative projects submitted this month, so many different blogs to browse now before heading off to bed! I am so happy to know that there are so many amazing crafters out there!
Although I didn't get to submit my second card in time for the blog hop this month, I wanted to share my card with you anyway. I used Papertrey Ink's Nuts for You Stamp set to create my wreath. I die-cut the leaf several times and then colored them in with my Prismacolor Markers in Light Umber, Dark Olive Green, Raspberry, and Burnt Ochre. I used Light Umber, Cinnamon Toast, and Walnut to color in my little Squirrel. I wasn't sure I wanted to add the squirrel to the card, I thought it might cover up too much of the wreath, but I think it turned out okay.
I also used the Mat stack #5 dies and some patterned paper that I found in the Dollar Spot at Target a year or two ago. The sentiment is from a Hero Arts stamp set, again there is no name on this stamp set, but the number is CL498 and contains a bunch of different holiday sentiments. I am going to head off to bed now, browse some more projects on my tablet before actually going to sleep! I have jury duty tomorrow morning, but I also have the day off and cannot wait to relax! Have a great night, thank you for stopping by!
Although I didn't get to submit my second card in time for the blog hop this month, I wanted to share my card with you anyway. I used Papertrey Ink's Nuts for You Stamp set to create my wreath. I die-cut the leaf several times and then colored them in with my Prismacolor Markers in Light Umber, Dark Olive Green, Raspberry, and Burnt Ochre. I used Light Umber, Cinnamon Toast, and Walnut to color in my little Squirrel. I wasn't sure I wanted to add the squirrel to the card, I thought it might cover up too much of the wreath, but I think it turned out okay.
I also used the Mat stack #5 dies and some patterned paper that I found in the Dollar Spot at Target a year or two ago. The sentiment is from a Hero Arts stamp set, again there is no name on this stamp set, but the number is CL498 and contains a bunch of different holiday sentiments. I am going to head off to bed now, browse some more projects on my tablet before actually going to sleep! I have jury duty tomorrow morning, but I also have the day off and cannot wait to relax! Have a great night, thank you for stopping by!
Labels:
Blog Hop,
Cards,
Challenge,
Fall,
Holiday,
Papertrey Ink,
Thanksgiving,
Wreath
Tuesday, September 24, 2013
Papertrey Ink September Blog Hop
Hello fellow crafters! It is nearing midnight here and I decided to do a quick post before heading off to bed to share my project for this month's Papertrey Ink Blog Hop! For September, the Challenge is to create a card with a wreath. I've been thinking about this challenge for a couple of weeks now, and I finally got down to making something tonight after the kiddos headed off to bed. This is my card set for this month's Blog Hop:
Once I knew the challenge had to involve wreaths, I wanted to get started on some kind of Christmas card set. I wanted to create a stamped wreath out of a stamped image of Christmas Holly leaves, but all my stamped images of Holly from PTI were either way too tiny or just didn't look right. Then I remembered that I picked up a few $1.00 Christmas stamp sets from Studio G at Walmart last year. There is no name on this stamp set, just the Number on the barcode #WM0745, and it includes several different Holly leaf images. The image I chose to create my "wreath" ended up being the perfect size for the front of my card! I stamped the Holly leaves in Old Olive ink from Stampin' Up. Then, I used the little berries from Papertrey Ink's Boutique Borders: Christmas stamp set that was designed by Dawn McVey. I stamped the little berries in Ruby Red ink around the "wreath". The sentiment is from the Papertrey Ink Think Big Favorites #20 Stamp set. I added some twine from Martha Stewart, and then put my card together. I used Kraft, White, Old Olive, Ruby Red, and White cardstock.
I love the way the set came out, I am definitely in the mood to get started on some more Christmas cards now! I can't wait to see everyone else's projects! Thanks so much for stopping by, Happy Hump day!
Once I knew the challenge had to involve wreaths, I wanted to get started on some kind of Christmas card set. I wanted to create a stamped wreath out of a stamped image of Christmas Holly leaves, but all my stamped images of Holly from PTI were either way too tiny or just didn't look right. Then I remembered that I picked up a few $1.00 Christmas stamp sets from Studio G at Walmart last year. There is no name on this stamp set, just the Number on the barcode #WM0745, and it includes several different Holly leaf images. The image I chose to create my "wreath" ended up being the perfect size for the front of my card! I stamped the Holly leaves in Old Olive ink from Stampin' Up. Then, I used the little berries from Papertrey Ink's Boutique Borders: Christmas stamp set that was designed by Dawn McVey. I stamped the little berries in Ruby Red ink around the "wreath". The sentiment is from the Papertrey Ink Think Big Favorites #20 Stamp set. I added some twine from Martha Stewart, and then put my card together. I used Kraft, White, Old Olive, Ruby Red, and White cardstock.
I love the way the set came out, I am definitely in the mood to get started on some more Christmas cards now! I can't wait to see everyone else's projects! Thanks so much for stopping by, Happy Hump day!
Labels:
Blog Hop,
Cards,
Challenge,
Christmas,
Holiday,
Papertrey Ink,
Stampin Up,
Wreath
Sunday, September 22, 2013
Halloween Kraft Treat Bags
Good Morning fellow crafters, I hope you are enjoying the very first day of FALL! I love the fall, it signals the start of the best holidays of the year! I am trying to get back into my posting more often, I haven't posted very many projects at all this year! I finally started working on my Halloween projects! The girls' school has a Fall carnival every year and they allow craft vendors, so I really need to start making some items to put up for sale that teachers and kids would love to pick up! I made these cute little Kraft Halloween Treat bags.
I ordered the Kraft bags from sweetideasbyjanet on Etsy a few months ago and have been dying to try them out! I used mainly Papertrey Ink products to put these together! I used their Mr. Bones Stamp and die set along with the Spider from the Tremendous Treats: Halloween Stamp Set. I also used the medium-sized spider web from their Spider Web die collection. The "trick or treat" is from the Tremendous treats set and is stamped on their banner die.
I can't wait to make different versions of these little bags, they come together so quickly and are just too cute! Not too many people work on Halloween projects, but I just love seeing what other people come up with. I've never actually sent out a Halloween card to anyone, but I do make a few card sets to put up for sale, along with some tag sets as well! I hope to bring you more projects soon with the upcoming holidays! Have a great week everyone, thanks so much for stopping by!
I ordered the Kraft bags from sweetideasbyjanet on Etsy a few months ago and have been dying to try them out! I used mainly Papertrey Ink products to put these together! I used their Mr. Bones Stamp and die set along with the Spider from the Tremendous Treats: Halloween Stamp Set. I also used the medium-sized spider web from their Spider Web die collection. The "trick or treat" is from the Tremendous treats set and is stamped on their banner die.
I can't wait to make different versions of these little bags, they come together so quickly and are just too cute! Not too many people work on Halloween projects, but I just love seeing what other people come up with. I've never actually sent out a Halloween card to anyone, but I do make a few card sets to put up for sale, along with some tag sets as well! I hope to bring you more projects soon with the upcoming holidays! Have a great week everyone, thanks so much for stopping by!
Labels:
Craft Fair,
Fall,
Favors,
Halloween,
Halloween Crafts,
Holiday,
Papertrey Ink
Thursday, September 19, 2013
Papertrey Ink Make it Monday #132 Layered Border Die Cuts
Hello everyone, happy Thursday! Hope you are all having a fabulous week so far! I am enjoying a wonderful, quiet day off at home! It has been yet another crazy, busy week, so I decided to spend a few hours relaxing in my craft room this morning before I run off to do a few errands. This week over on Nichole's blog Dawn McVey (she is amazing, I can browse her website for hours!) has challenged us to create a project using Layered Bordered Die Cuts for Papertrey Ink's Make it Monday #132.
I am so far behind on my Holiday crafting! I haven't started any Halloween projects yet, and I am dying to get into making Christmas cards already! I just can't seem to find the time! For this challenge, I really wanted to use the Papertrey Ink Nuts for You stamp set again and make a fall-themed card. This card took me forever to make because I do not own any border dies from PTI, so I had to figure out another way to create a layered border using die cuts. I used one of the circle dies from the 1 3/4" circle die set, cut out 4 different fall colors, and then cut those in half.
I layered them all together at the bottom of my Kraft cardstock base, then added a strip of Kraft cardstock with some brown/white twine. I stamped the background with the leaf and acorn image from the stamp set using Stampin' Up's Crumb Cake ink. I used Papertrey Ink's Mat Stack #5 die along with the matching stamp from the Tiny Treats: Birthday stamp set. I die-cut and colored my squirrel using Prismacolor markers in Walnut, Dark Brown, Sienna Brown, and Ballet Pink. Last, I added the "happy fall" sentiment using the PTI banner die.
I am really happy with the way this card turned out, I just love it. The only thing I might change on the card is the colors of my little Squirrel. I think I should have colored him a little lighter to make him stand out a bit more against the Kraft cardstock base. I hope you all enjoy the rest of your day, thanks so much for stopping by!
I am so far behind on my Holiday crafting! I haven't started any Halloween projects yet, and I am dying to get into making Christmas cards already! I just can't seem to find the time! For this challenge, I really wanted to use the Papertrey Ink Nuts for You stamp set again and make a fall-themed card. This card took me forever to make because I do not own any border dies from PTI, so I had to figure out another way to create a layered border using die cuts. I used one of the circle dies from the 1 3/4" circle die set, cut out 4 different fall colors, and then cut those in half.
I layered them all together at the bottom of my Kraft cardstock base, then added a strip of Kraft cardstock with some brown/white twine. I stamped the background with the leaf and acorn image from the stamp set using Stampin' Up's Crumb Cake ink. I used Papertrey Ink's Mat Stack #5 die along with the matching stamp from the Tiny Treats: Birthday stamp set. I die-cut and colored my squirrel using Prismacolor markers in Walnut, Dark Brown, Sienna Brown, and Ballet Pink. Last, I added the "happy fall" sentiment using the PTI banner die.
I am really happy with the way this card turned out, I just love it. The only thing I might change on the card is the colors of my little Squirrel. I think I should have colored him a little lighter to make him stand out a bit more against the Kraft cardstock base. I hope you all enjoy the rest of your day, thanks so much for stopping by!
Subscribe to:
Posts (Atom)